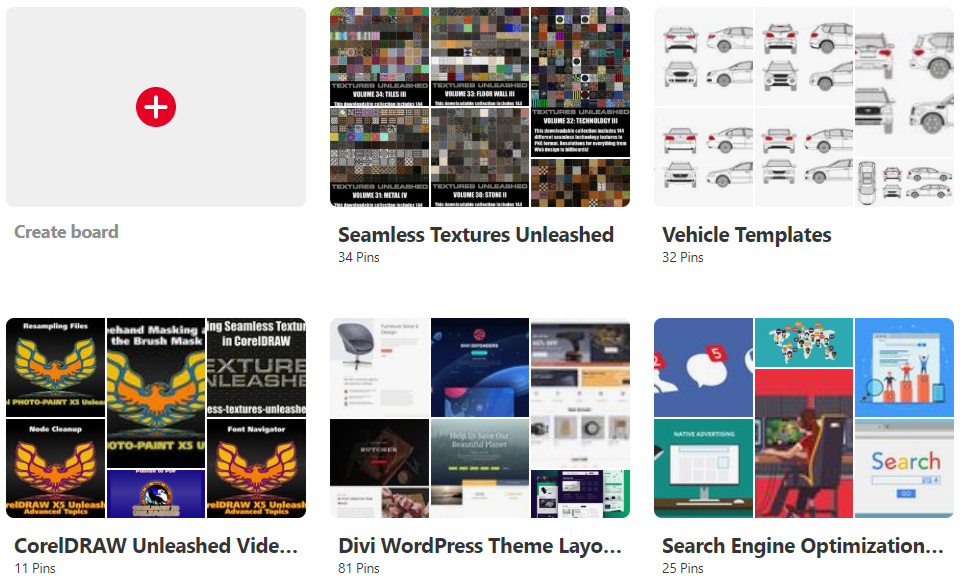
It is probably something I should have done years ago, but I admittedly was a little intimidated with Pinterest. So I put it off as long as possible and then I sat down with someone far more knowledgeable than me and got started. Once I got started, it wasn’t as difficult as I thought it was going to be. Before I go into the details, I’ve embedded a widget of our Pinterest profile below. Check it out and give us a follow. Note that the embedded widget won’t work in email, so you’ll need to read this post on the Web site to see it or simply go to our Pinterest profile.
Now let’s move on to the actual process for setting up an account. I was asked for my name and it can be seen behind the scenes. More importantly, I was asked for the Profile name and that’s Graphics Unleashed. A photo can be updated to represent the profile and we went with our logo. How big should it be? I saw various recommendations of square sizes and the best answer I saw was 600 x 600 pixels. It will never display that big, but it scales down nicely. Some other information about yourself and/or the profile is also required and it is very straightforward to answer.
A short description, up to 160 characters, can tell visitors a little about the profile. Keep SEO (search engine optimization) in mind as you write the description. The profile can also be linked to a single Web site. Once the Web site is added, you have the option of “claiming” it. This requires either uploading a file to the Web site or adding a meta tag. As a Web designer, I found it very easy and it took only a few minutes to claim the site.
Once the profile is all set, it is time to start pinning. A pin is simply a small collection of information connected to a Web link. That info includes a title, description, URL and graphic. While the size of the graphic can vary, the ideal size is 735 x 1102 pixels if you are going to create a special graphic. For some of our pins, we did build a graphic. Others have simply used an existing graphic.
Pins are organized into collections named boards. You determine what boards are on your profile and what pins go in that board. While it can be as disorganized as you desire, it is best to keep them organized so that visitors to your profile can easily find items of interest.
To date, we have manually added all of our pins from existing content on our various Web sites. Of course you can also pin information from other Web sites. If you see something you like on a site, pin it! We’d love it if you pinned some of our content.
While there are already hundreds on pins on our boards, there are many more we’ve yet to add and that will happen over the next few weeks. Will this help boost our brand and our sites? The full answer has yet to be determined, but there is no doubt this gives us more exposure and that certainly can’t hurt!





0 Comments